Features
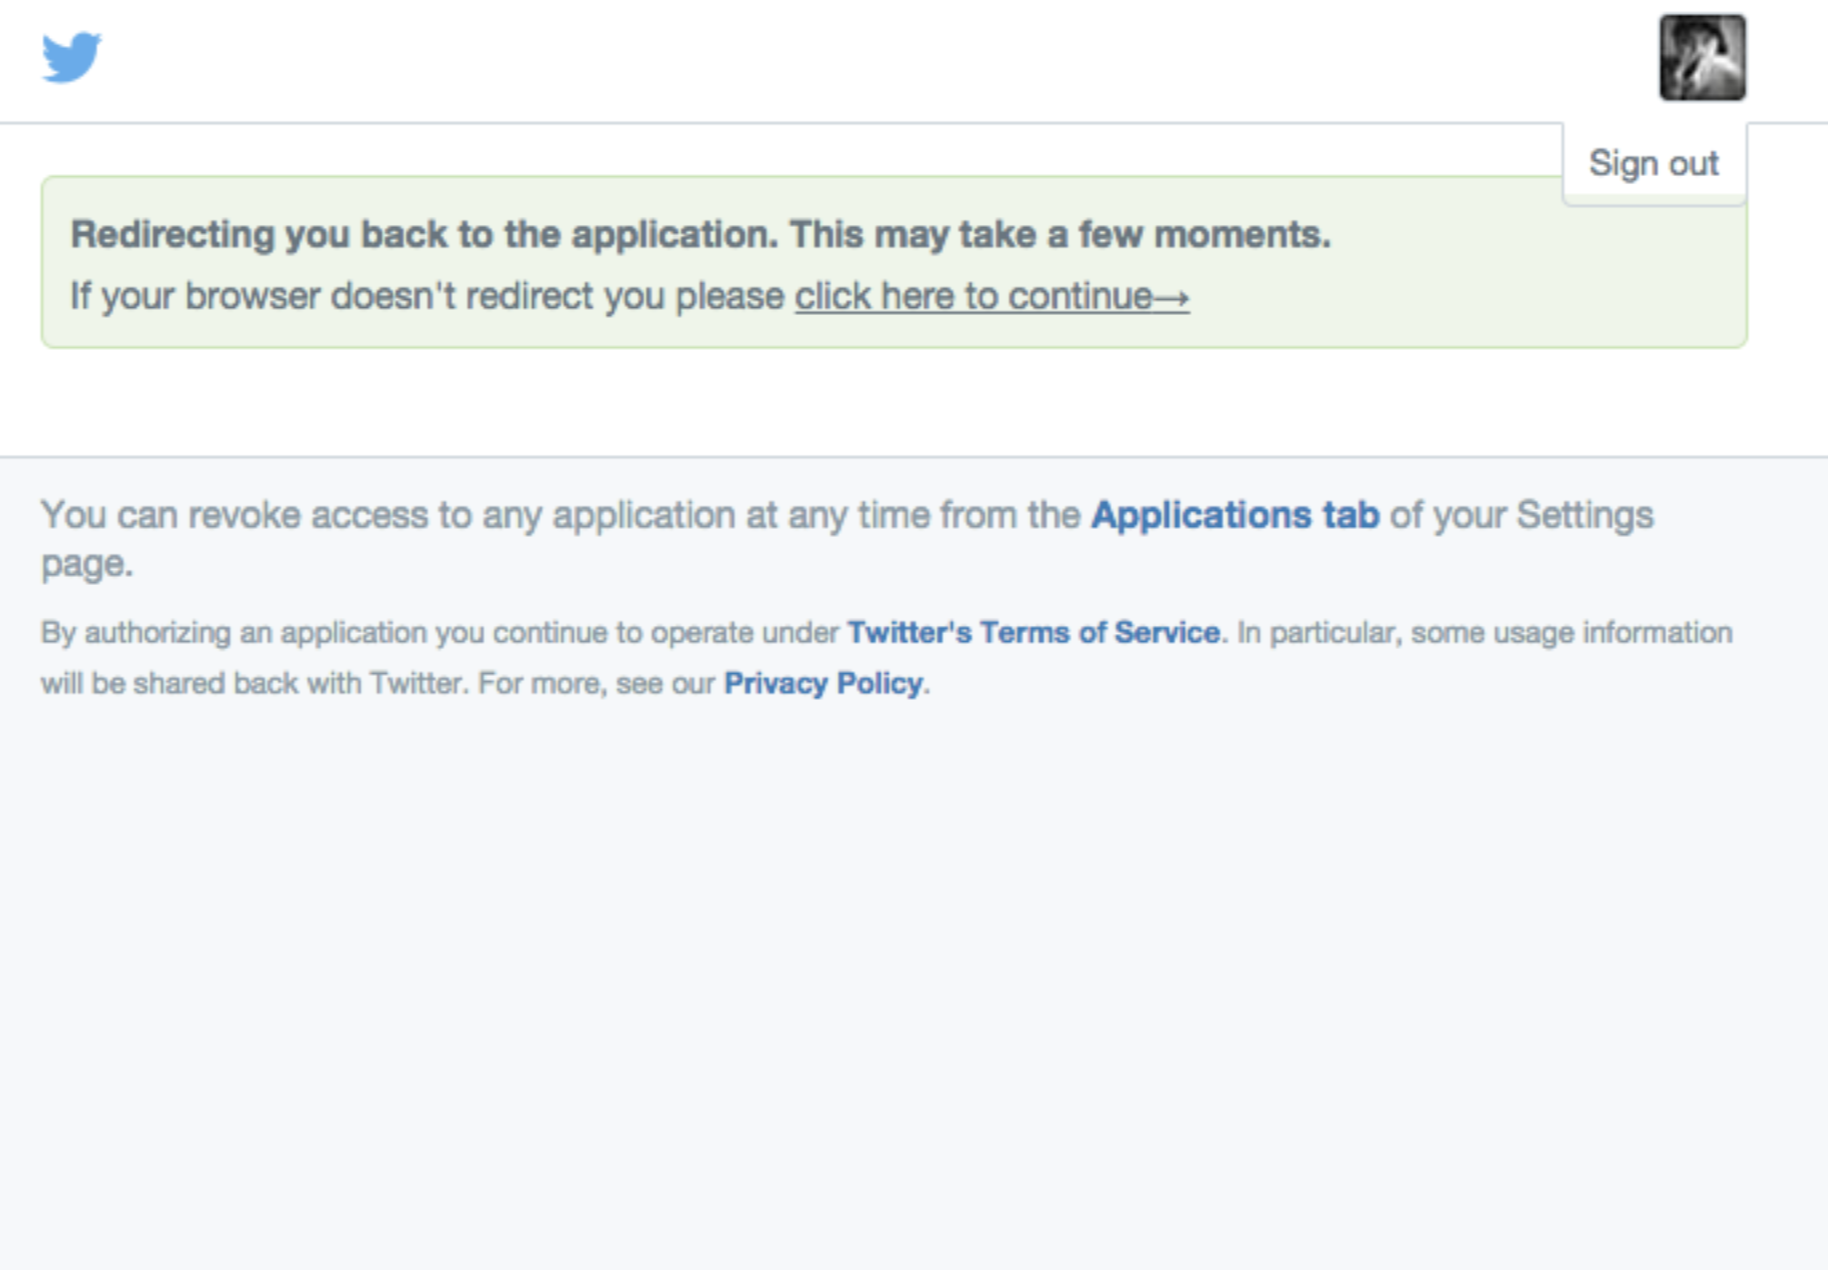
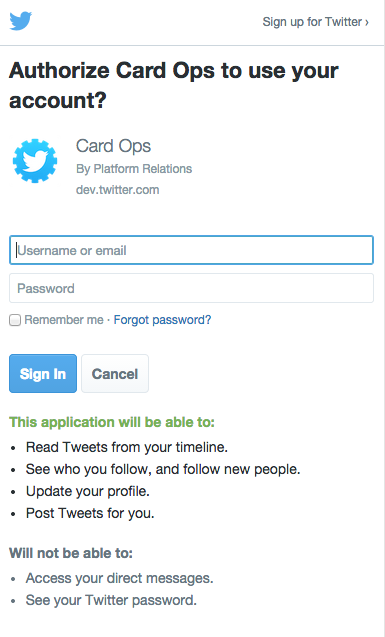
- Ease of use - A new visitor to your site only has to click two buttons in order to log in for the first time.
- X integration - The Log in with X flow can grant authorization to use X APIs on your users’ behalf.
- OAuth based - A wealth of client libraries and example code are compatible with the Log in with X API.
Available for
- Browsers - If your users can access a browser, you can integrate with Log in with X. Learn about the browser sign in flow.
- Mobile devices - Any web-connected mobile device can take advantage of Log in with X. Learn about the mobile sign in flow.
Implementing Log in with X
The browser and mobile web implementations of Log in with X are based on OAuth. This page demonstrates the requests needed to obtain an access token for the sign in flow. To use the “Log in with X” flow, please go to your X app settings and ensure that the “Allow this app to be used to Sign in with X?” option is enabled. This page assumes that the reader knows how to sign requests using the OAuth 1.0a protocol. If you want to know how to sign a request, read the Authorizing a request page. If you want to check the signing of the requests on this page, the consumer secret used is: L8qq9PZyRg6ieKGEKhZolGC0vJWLw8iEJ88DRdyOg. This value is for test purposes and will not work for real requests. The three steps for implementing Log in with X through obtaining a request token, redirecting a user, and converting a request token into an access token are listed below.- Step 1
- Step 2
- Step 3
Step 1: Obtaining a request token
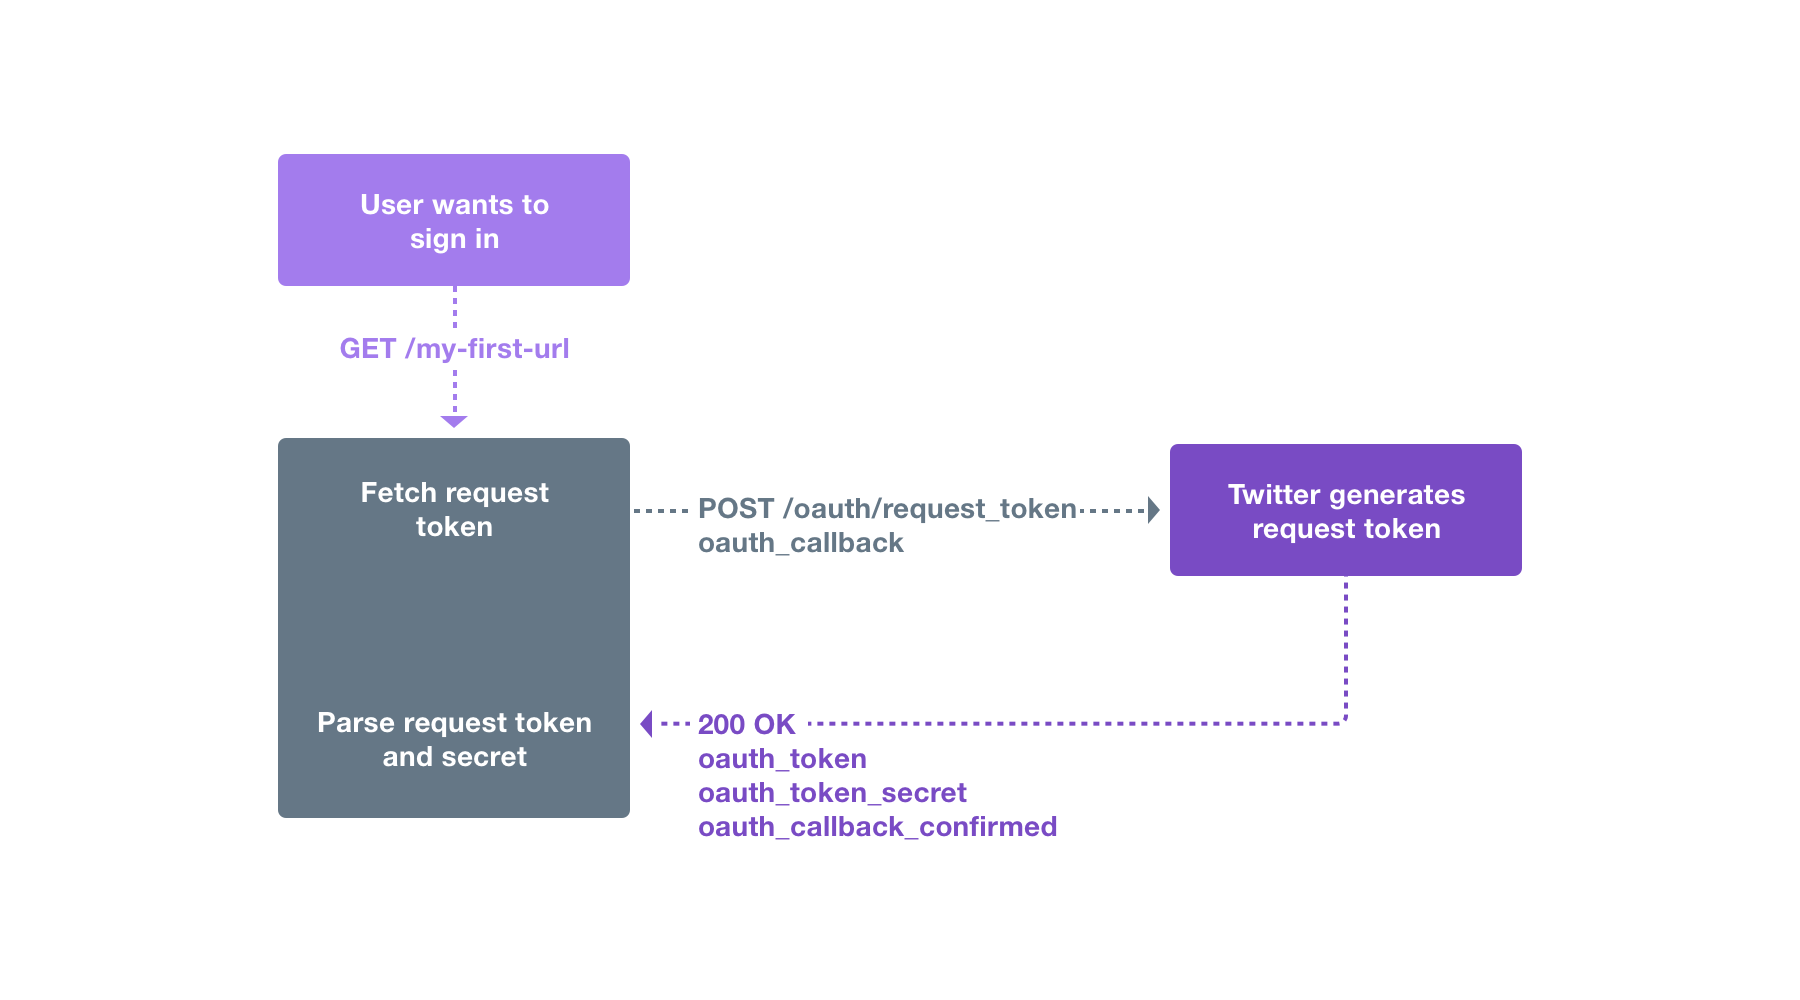
To start a sign-in flow, your X app must obtain a request token by sending a signed message to POST oauth/request_token. The only unique parameter in this request is oauth_callback, which must be a URL-encoded version of the URL you wish your user to be redirected to when they complete step 2. The remaining parameters are added by the OAuth signing process.Note: Any callback URL that you use with the POST oauth/request_token endpoint will have to be registered within the X app settings in the Developer Console.

- Additional resources
- Browser sign in flow
- Mobile sign in flow


